Repurposed China Cabinet-Cowgirl Style
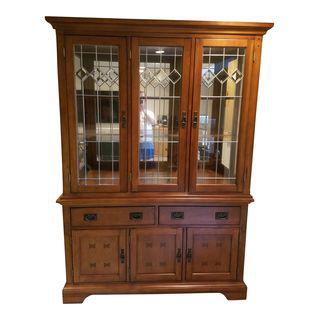
Sometimes we repurpose because it’s cheaper, and sometimes we can add our cowgirl style. In this 70’s version oak china cabinet, I did just that. I took a single piece and gave it two different uses. I’ll get to the second purpose in another post.
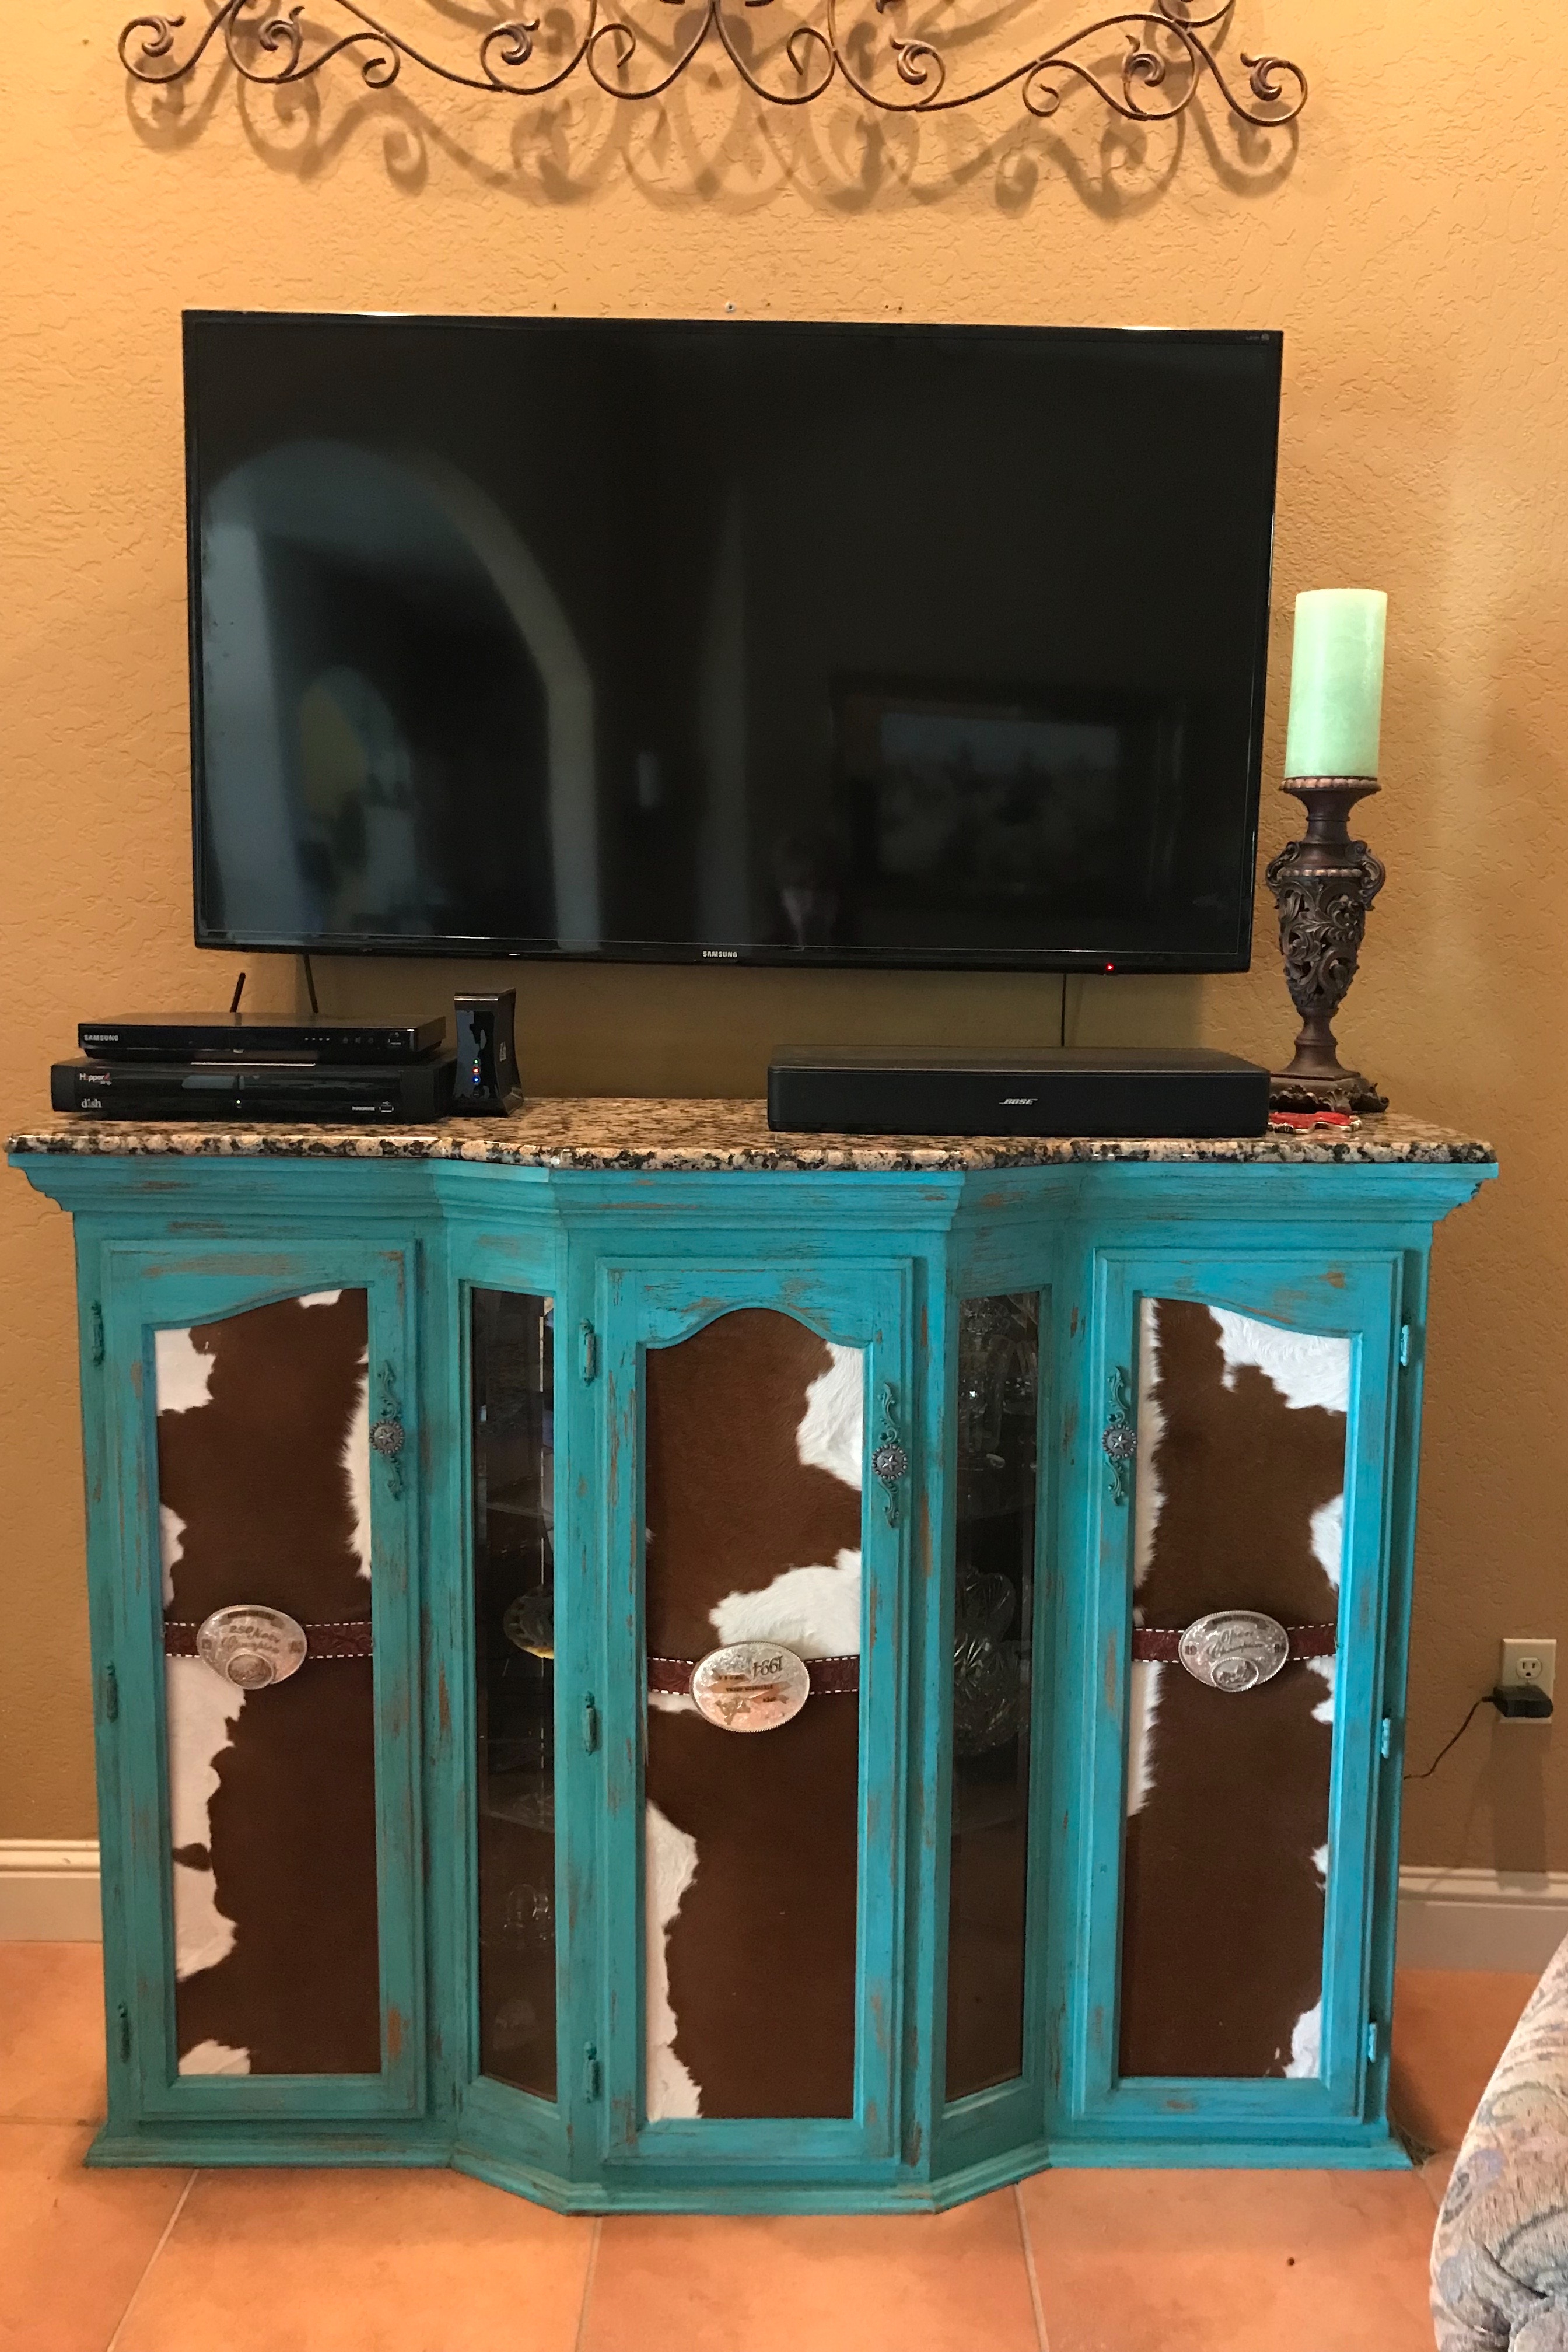
I separated the top and bottom pieces. When I did, I realized the top cabinet fit perfectly under my wall mounted TV. A plan began to form.
I don’t care what kind of an electronic geek you are, they keep coming up with new devices that must be plugged into that wall mounted TV. Once you had great aesthetic plans not to see any wires hanging down the wall. It becomes such a nightmare to run more wires inside that wall you must concede your high hopes.
Enough of my rant. I need a cabinet to hold these components. The top of this china cabinet fit the bill. Now I was lucky, the top was flat, and the crown molding set up higher than the top of the cabinet. I could have a piece of granite cut to sit perfectly on the surface.
Next, I used a turquoise chalk paint, lightly sanded the piece and finished it with a dark wax. I decided not to paint the inside of the cabinet. The shelves were glass and the back was covered in mirror. This created a little sparkle when lighted.
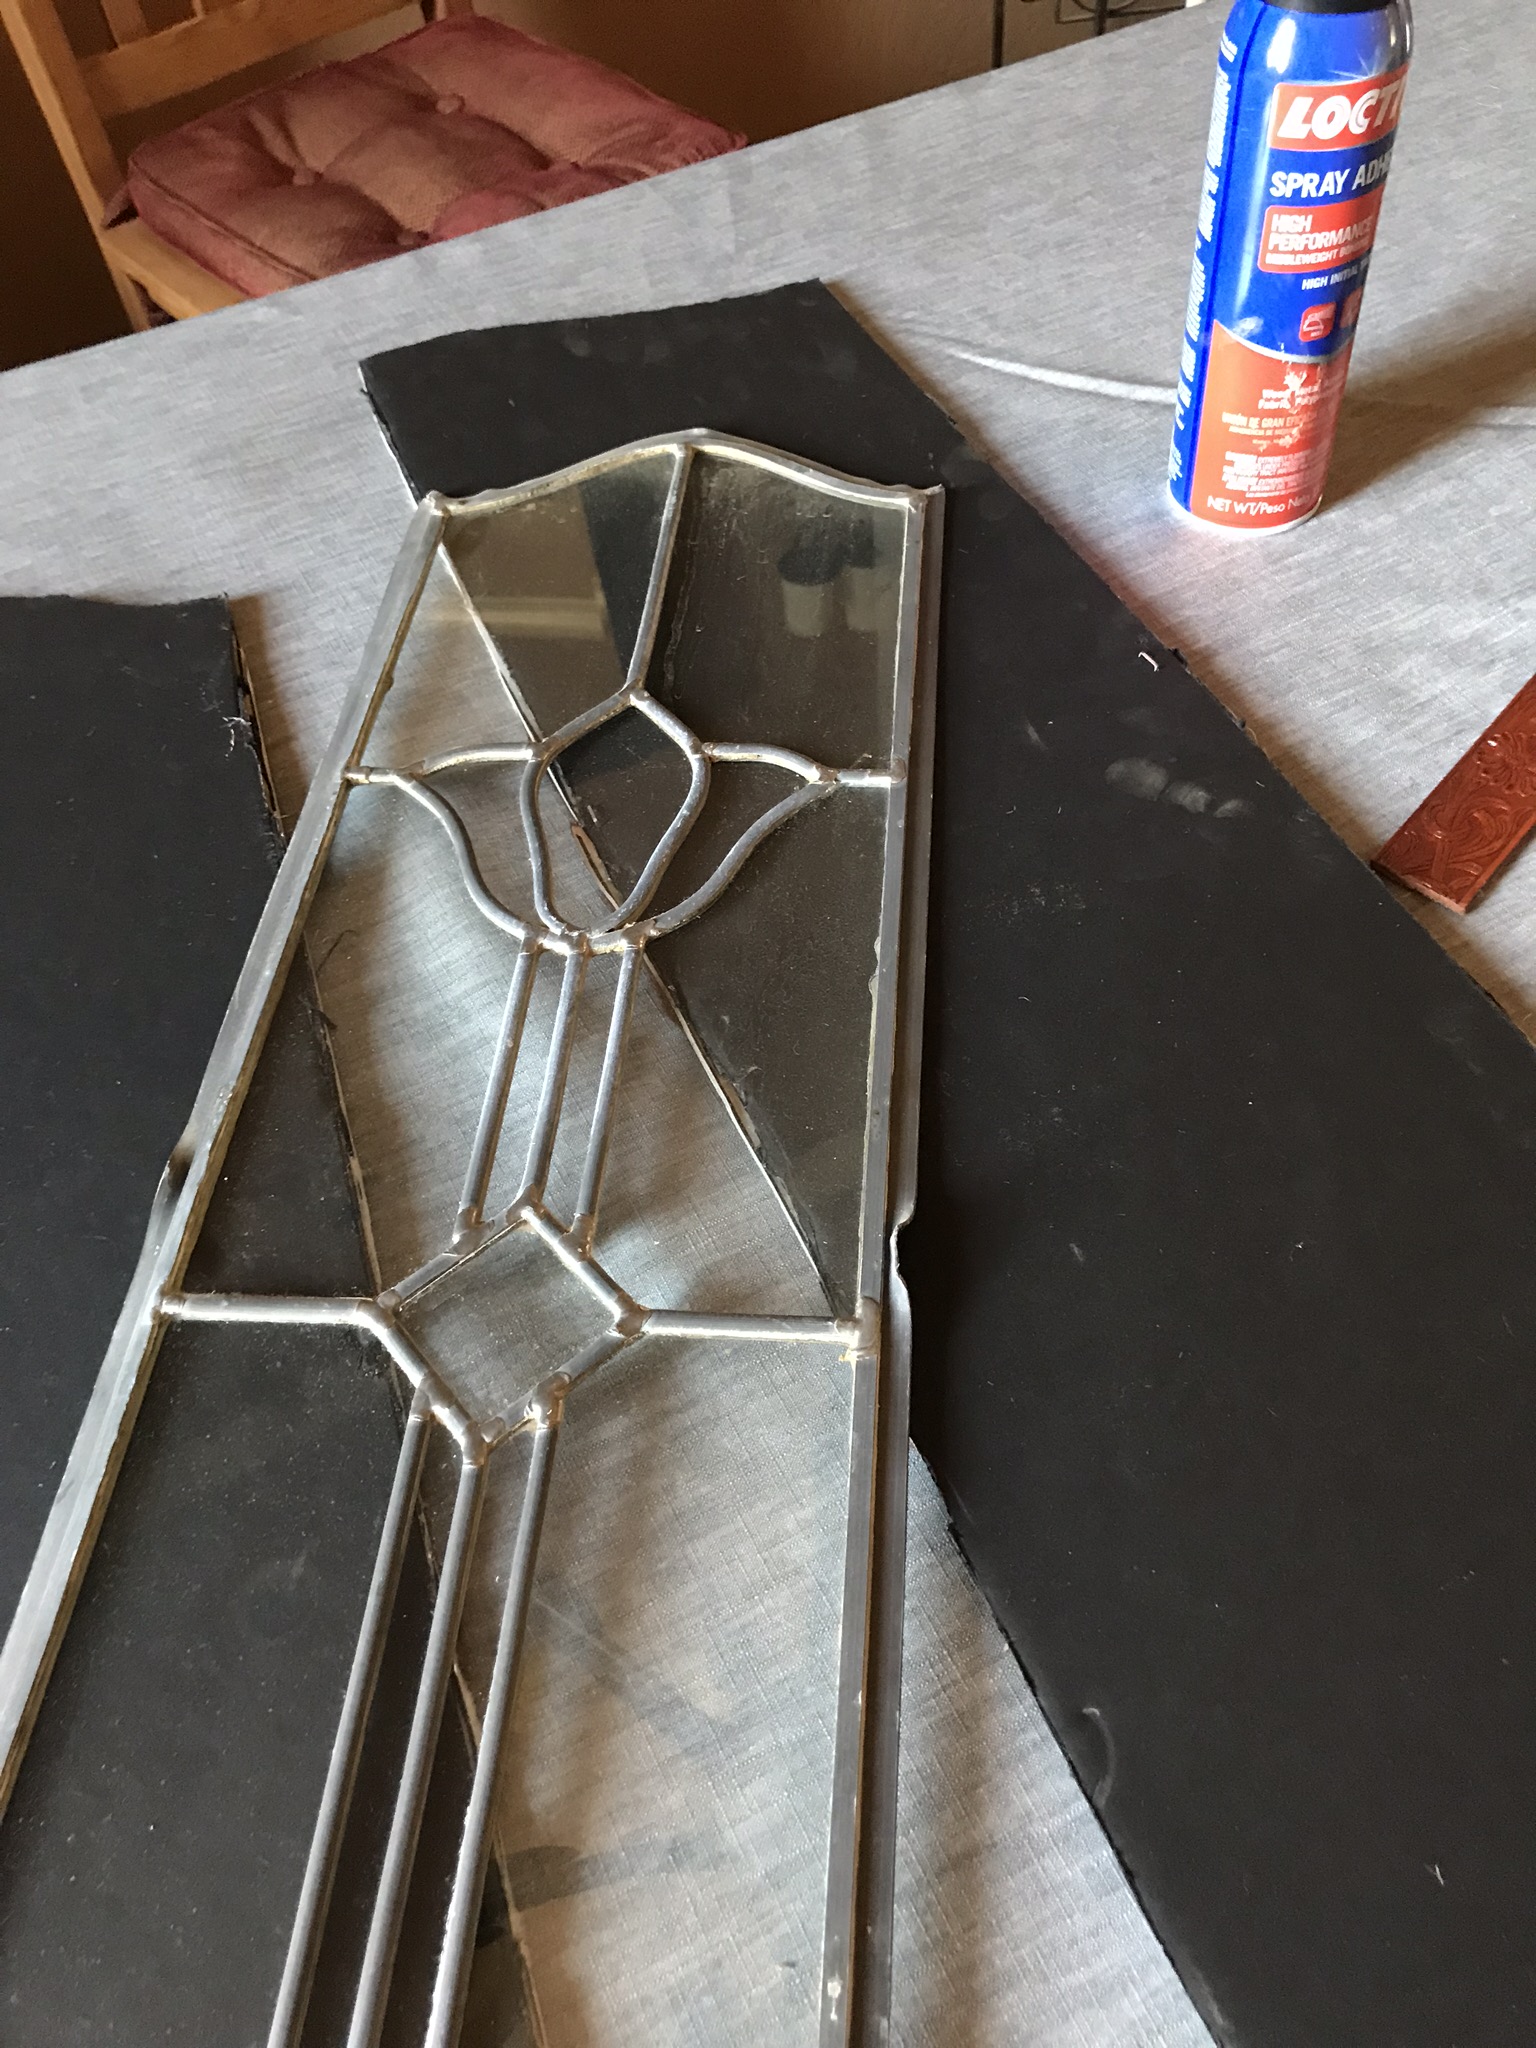
Obviously, the stain glass panels were dated. They had to be replaced.
First, I went with the clear look. This made the piece appear lighter in the room.
Next, I tried full blown cowgirl. Cowhide on anything makes a big cowgirl statement. I change the door pulls. The buckles are mine.
Step to create the cowhide panels:
Step 1.
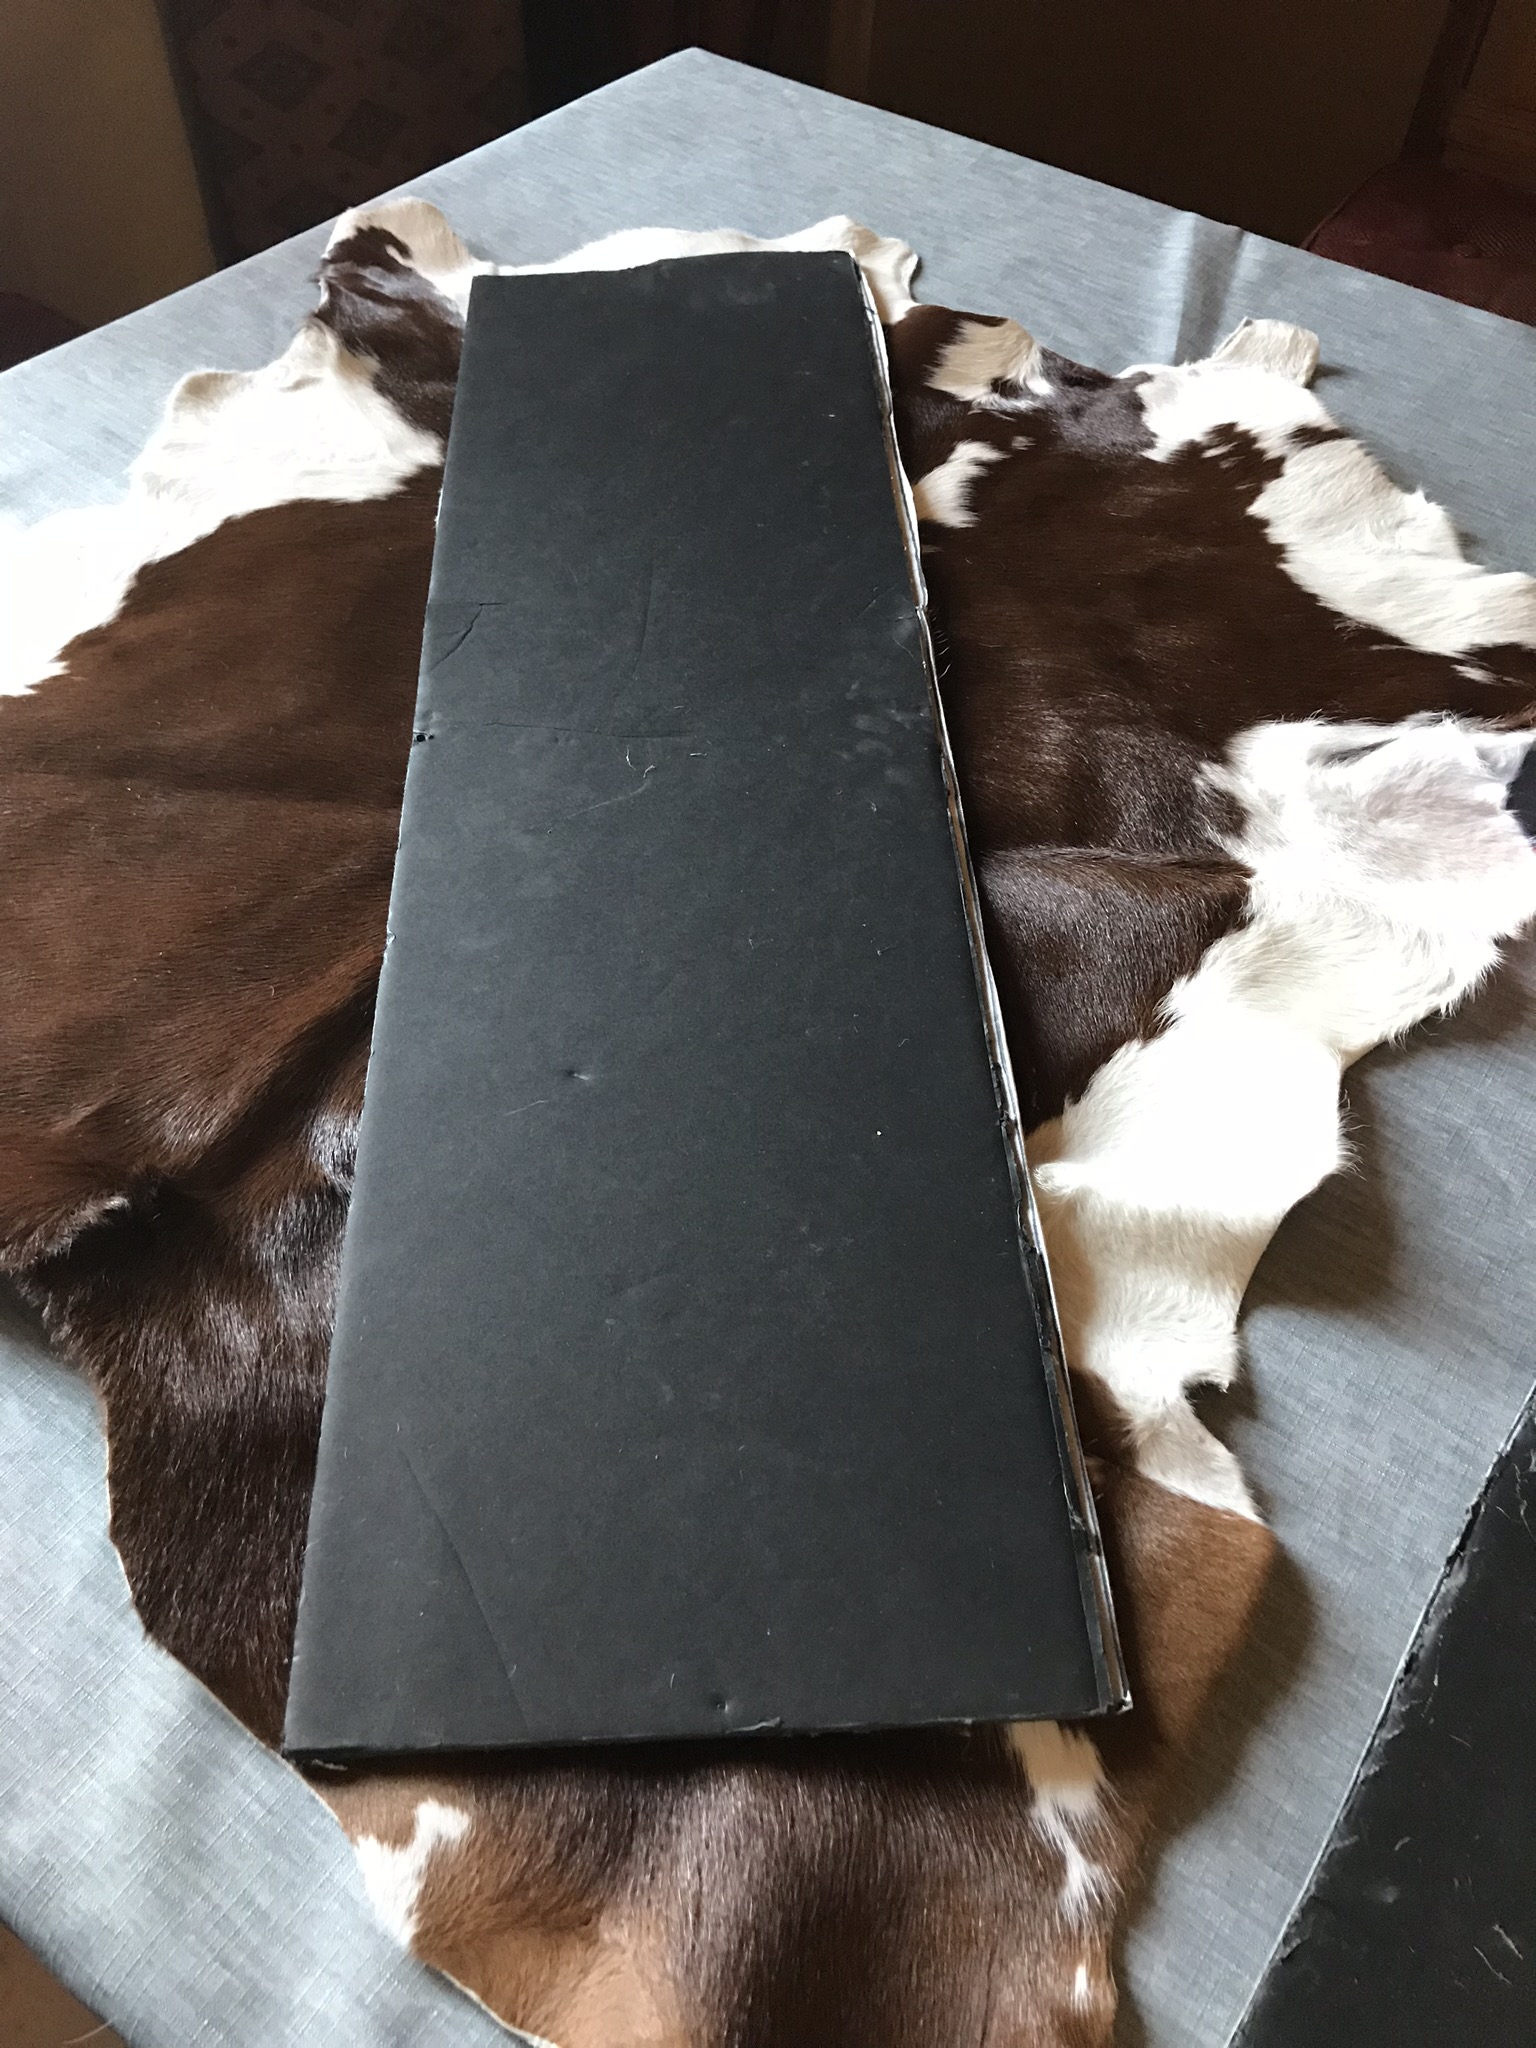
Trace the original panels on foam core board. Cut to fit. I used a box cutter.
Step 2
Layout the board on cowhide. Trace and cut. I used calf hide, which were not long enough for my panels. Therefore, I pieced them together. Spray the boards with adhesive spray and adhere the hide.
I glued the calf-hide onto the boards with Loctite Spray Adhesive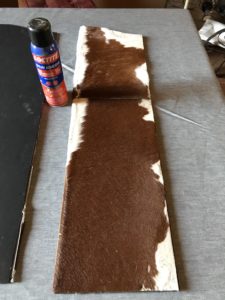
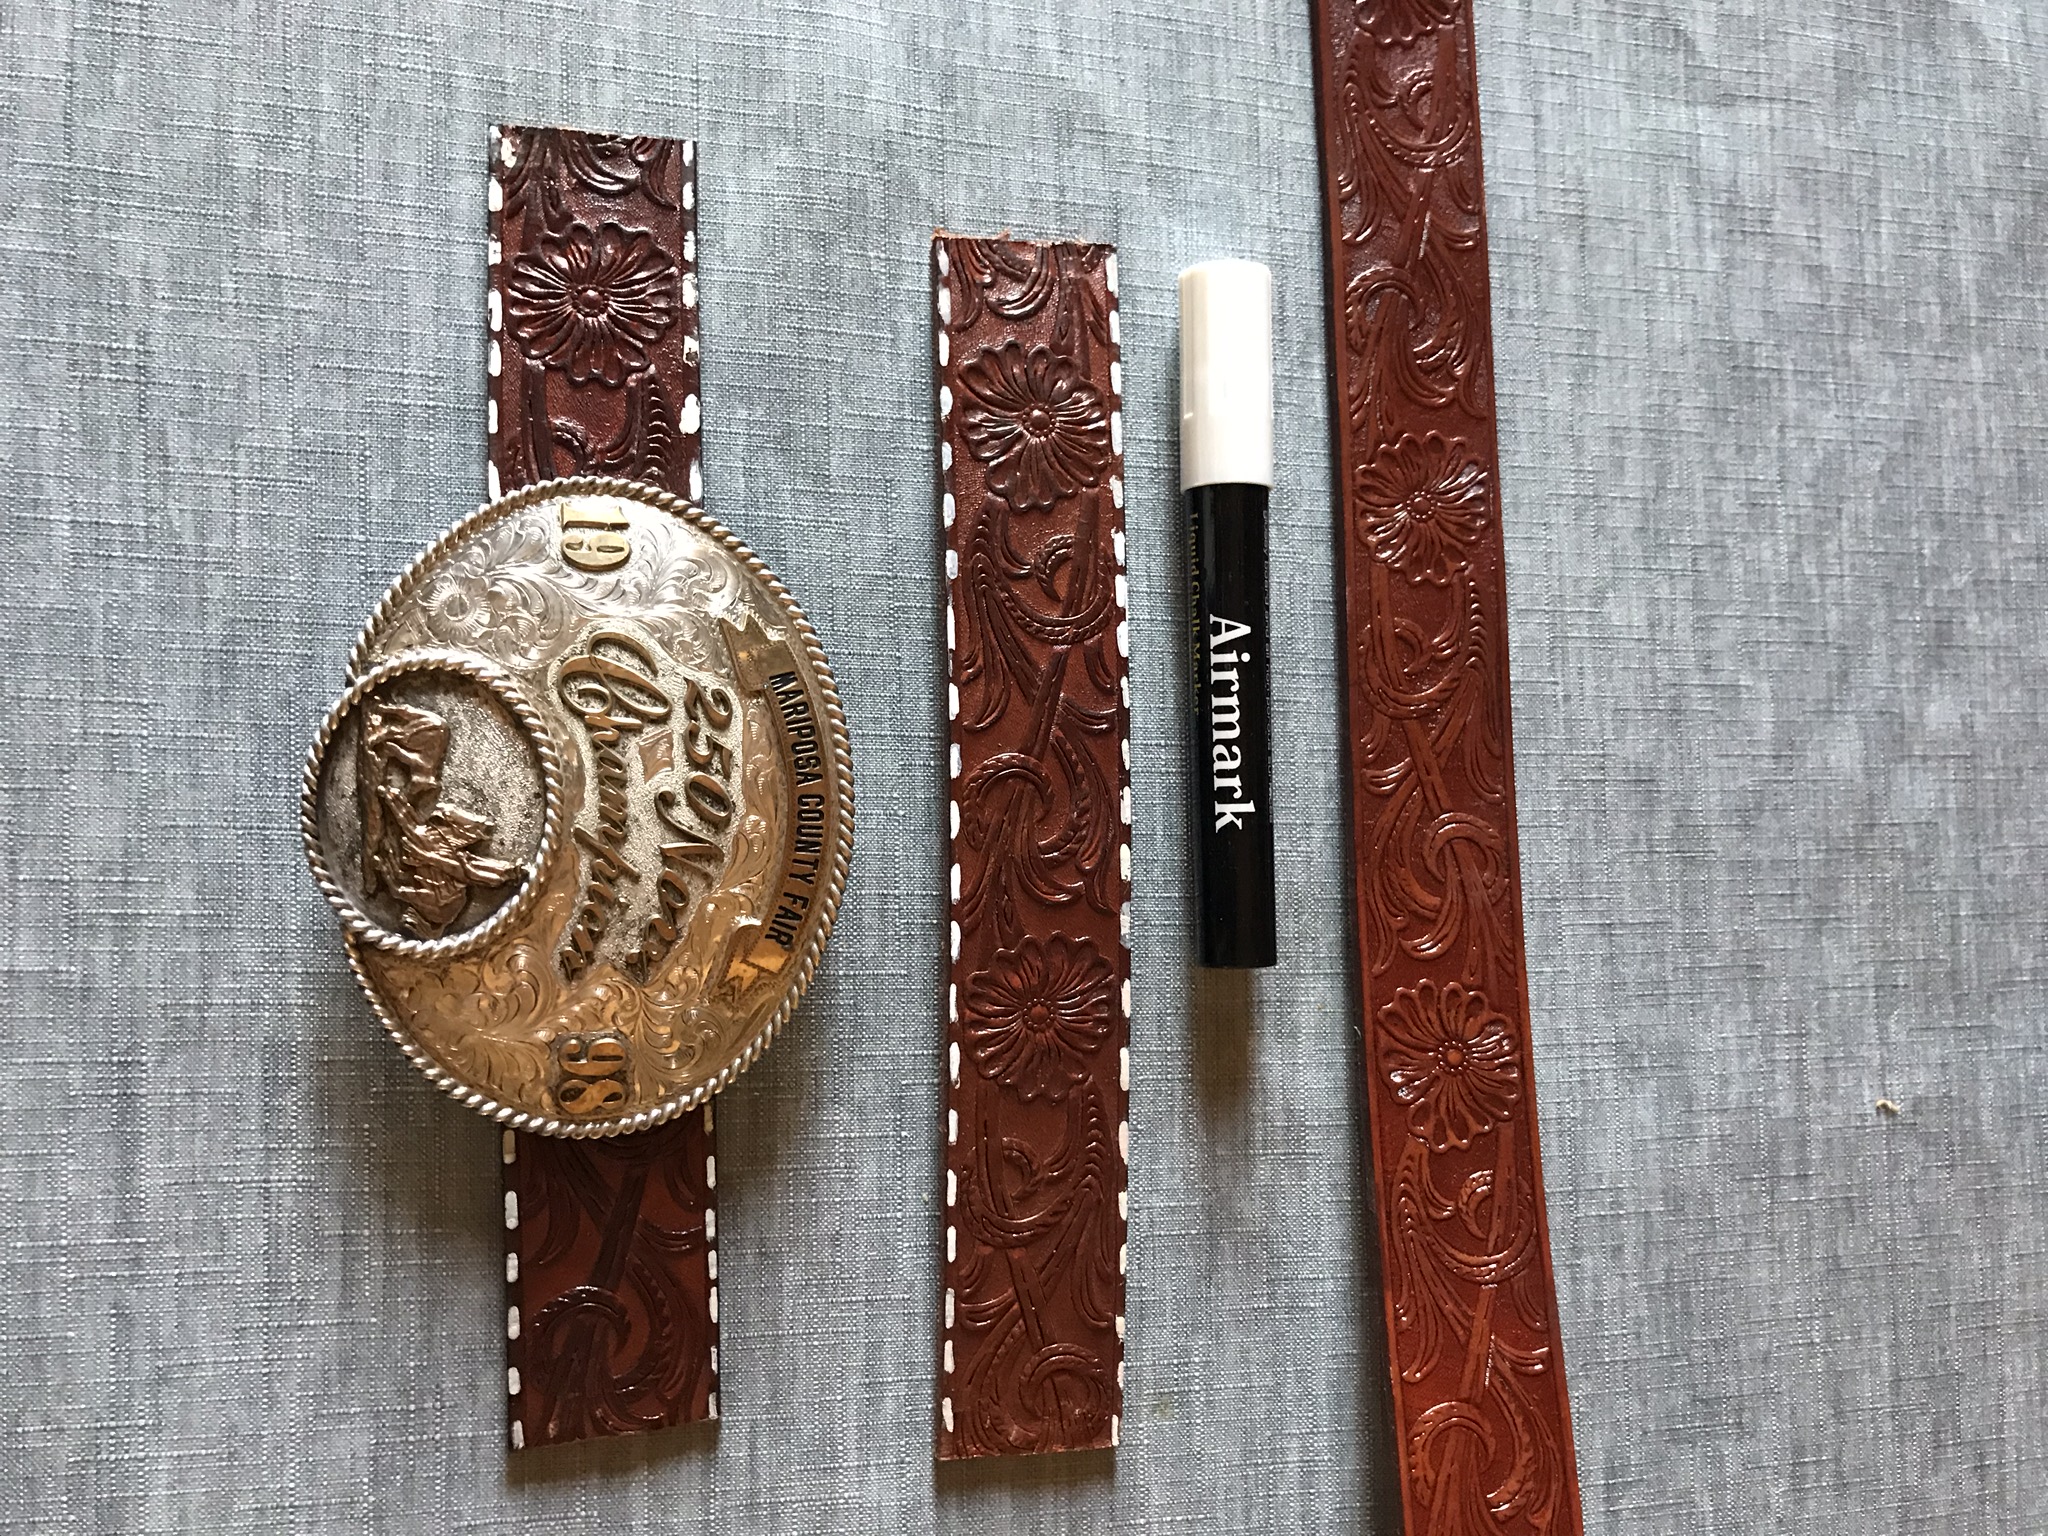
I covered the seams with some left-over belting and slid a buckle onto them. I simultated buck stitch using Airmark chalkboard paint pen. Whiteout will also work for this.
Step 3
Use a staple gun or small picture nails to place the “belts” into the door frames.
Step 4
The cowhide pieces were anchored into place by the glass screws on the cabinet doors.
The results of a moderately challenging project.