DIY Upholstered Headboard
This DIY upholstered headboard is simple and inexpensive to make. When I couldn’t find an upholstered headboard I liked at a reasonable price, I decided to DIY.
The reason I needed to look for a headboard is the expensive part of the equation. The bed I had was a Mediterranean mahogany queen size with headboard and footboard. It weighed a ton, but it was perfectly fine. However, I live with a snoring machine. On this ranch, we believe in the adage, “If you’re going to do something, do it right”. Apart from my own father, who made it a requirement to have 2 rooms on a vacation, one for him, and one for the other four of us, he is the best snorer around.
Since I am pretty much deaf without hearing aids, you’d think it wouldn’t be a problem. But some nights sleep is impossible. Even the dog left the room. I’ve gotten pretty good at the elbow push move that results in the slow rollover and ensuing peace. The other move is the tuck my pillow under his. Raising his head is also quite effective and requires skill. One day when listening to one of my shopping channels, QVC, I heard the caller say that her purchase finally resulted in the most peaceful night sleep she’d had in years. I was hooked.
My sleep number bed with independent controls to raise and lower both the head and feet arrived. My poor neighbor was watching my house when it came. She and her daughter drug in the 5 boxes, worried that they might not be safe outside. It took four of us, because I had patient volunteers to put it together and move the old bed into another room.
It was a large purchase which begat more purchases. The new bed was a split king. Now I needed two fitted twin sheets and one flat king sheet. Oh, and let’s not forget mattress pads, since I had a 17-year-old dog that slept with us. My comforter was too small. I needed a Cal-King comforter and bed-skirt. The comforter I had had matched by custom draperies. Aghhh! I can’t live with non-matching draperies. And I had no headboard. A Sleep Number bed does not just sit inside another bed-frame.
But even though my OCD matching dilemma has kept me up nights, the snoring doesn’t. I just roll-over and hit the button raising his head. You can hear angels sing.
So, I started with the headboard. The wall looked naked without a headboard. I researched on Pinterest and found a pegboard method for making an upholstered headboard.
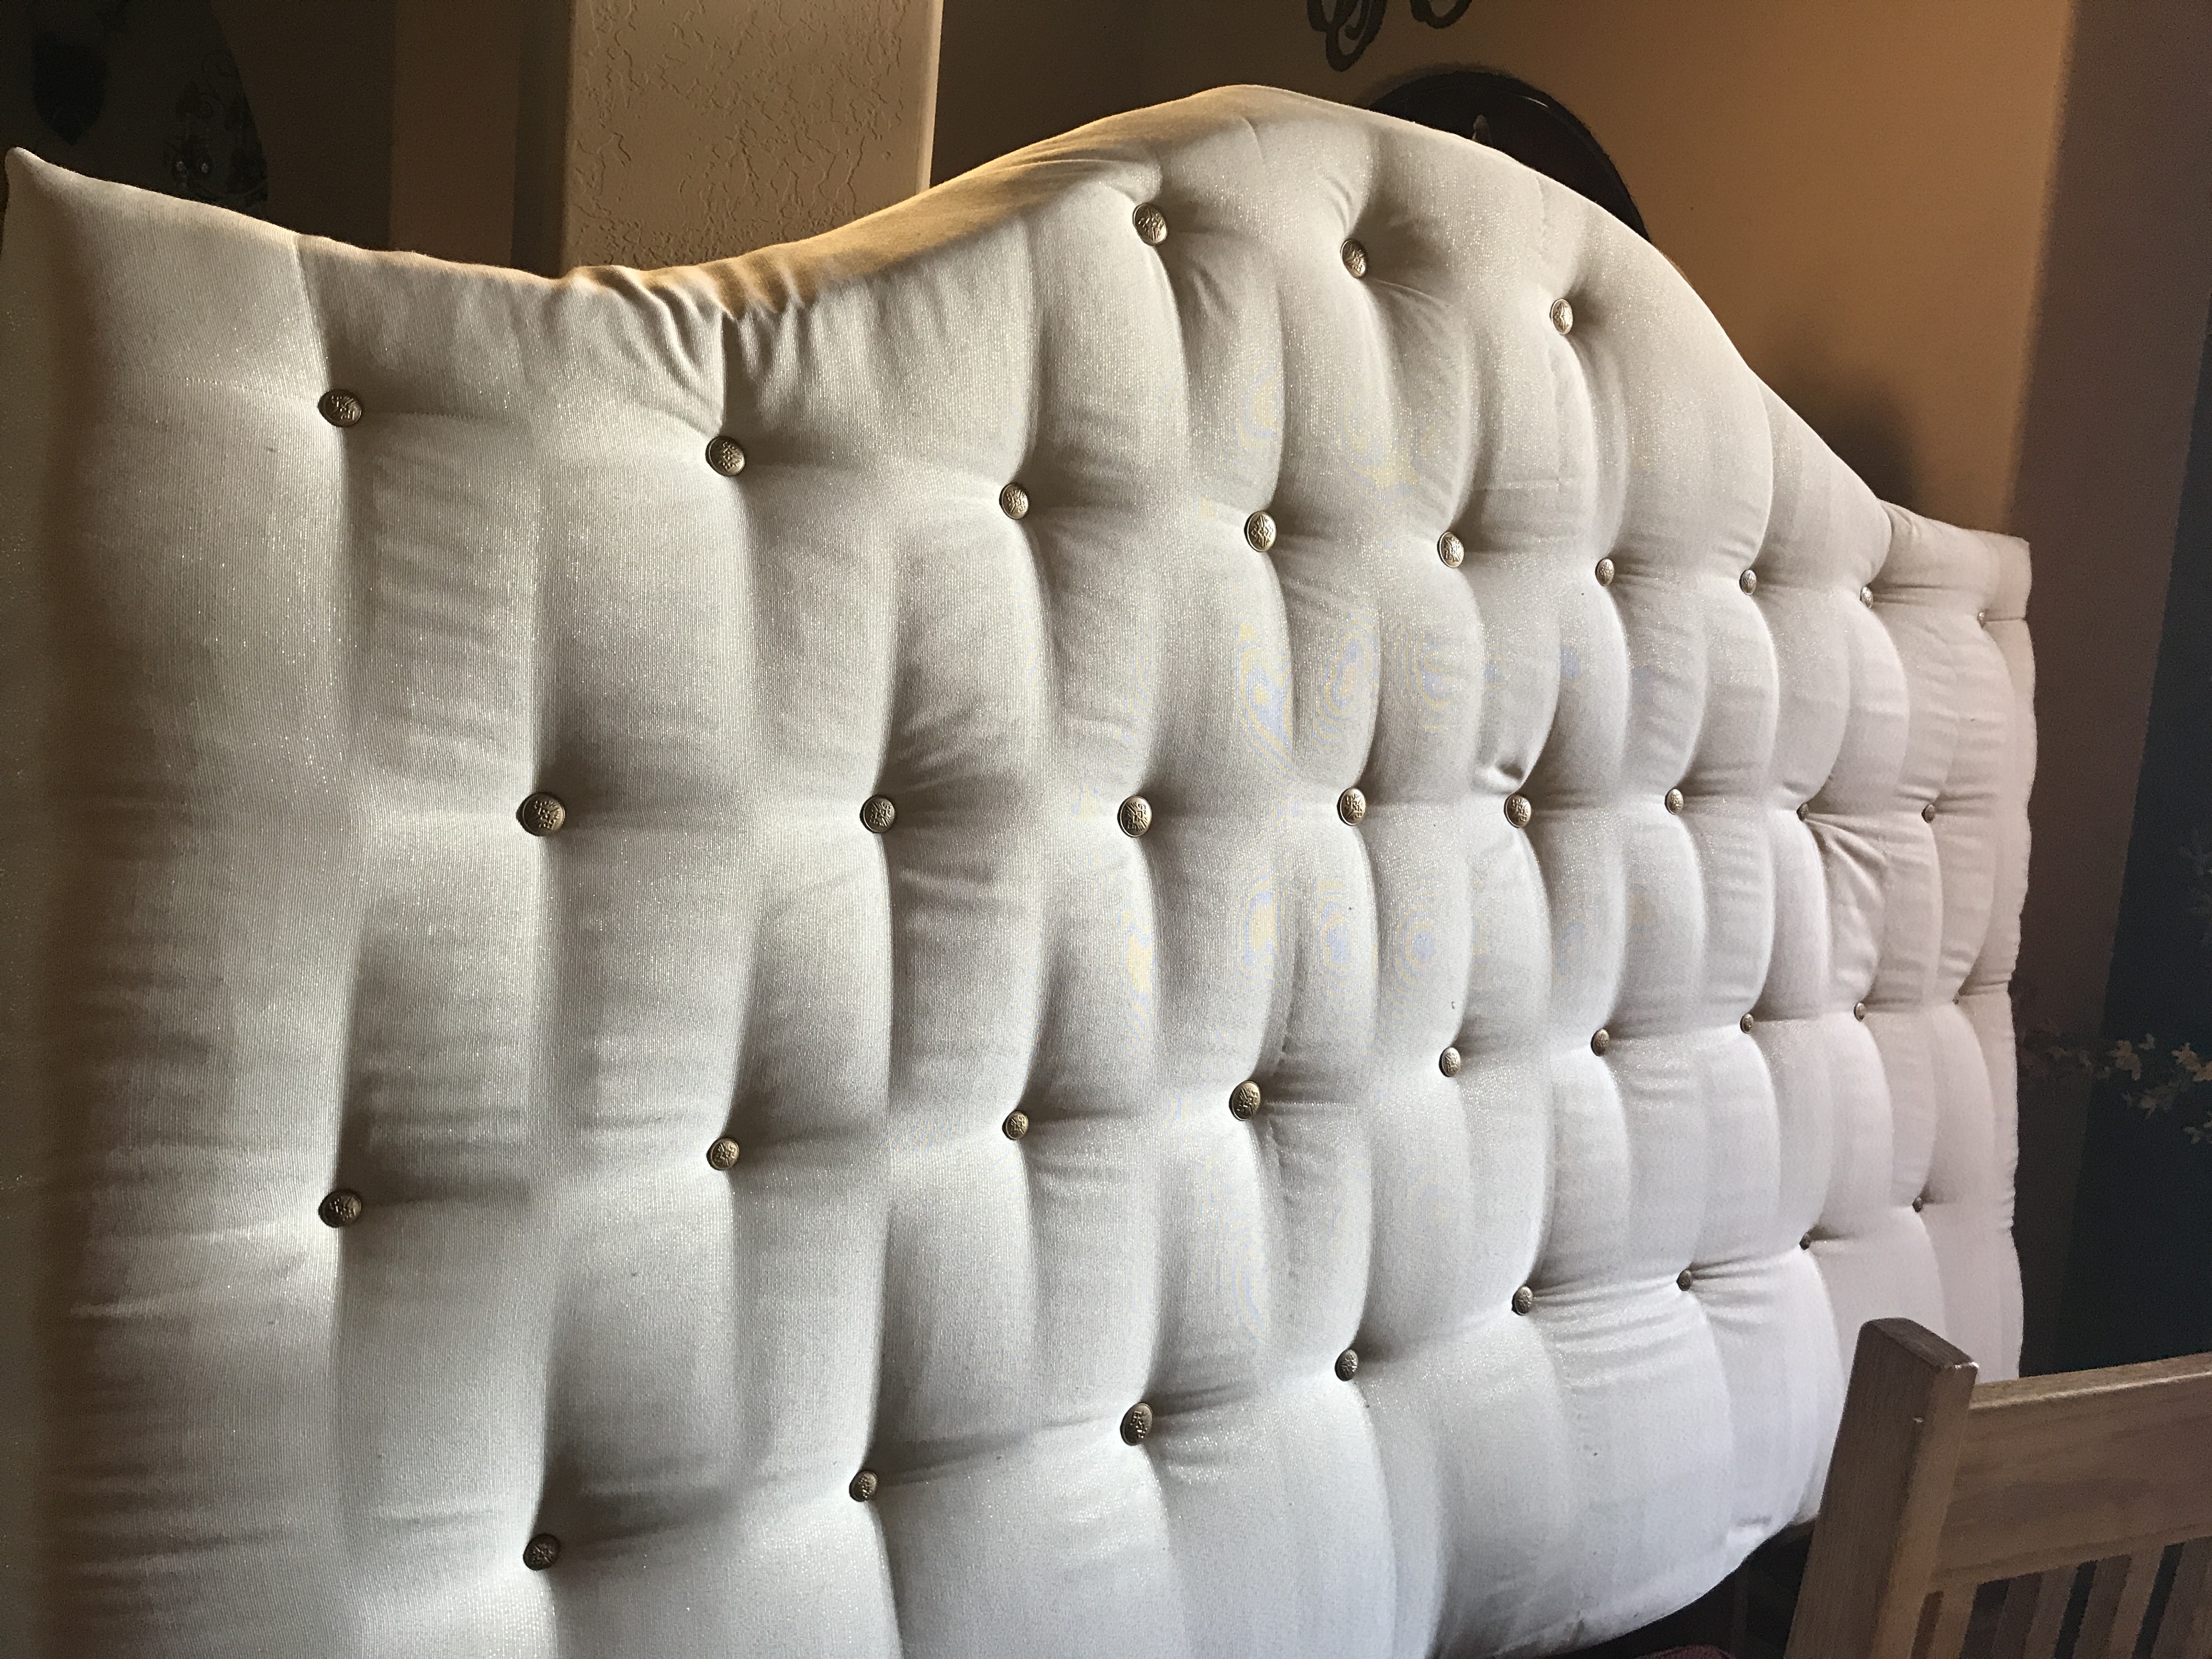
Here are the pictures of my adaptation.
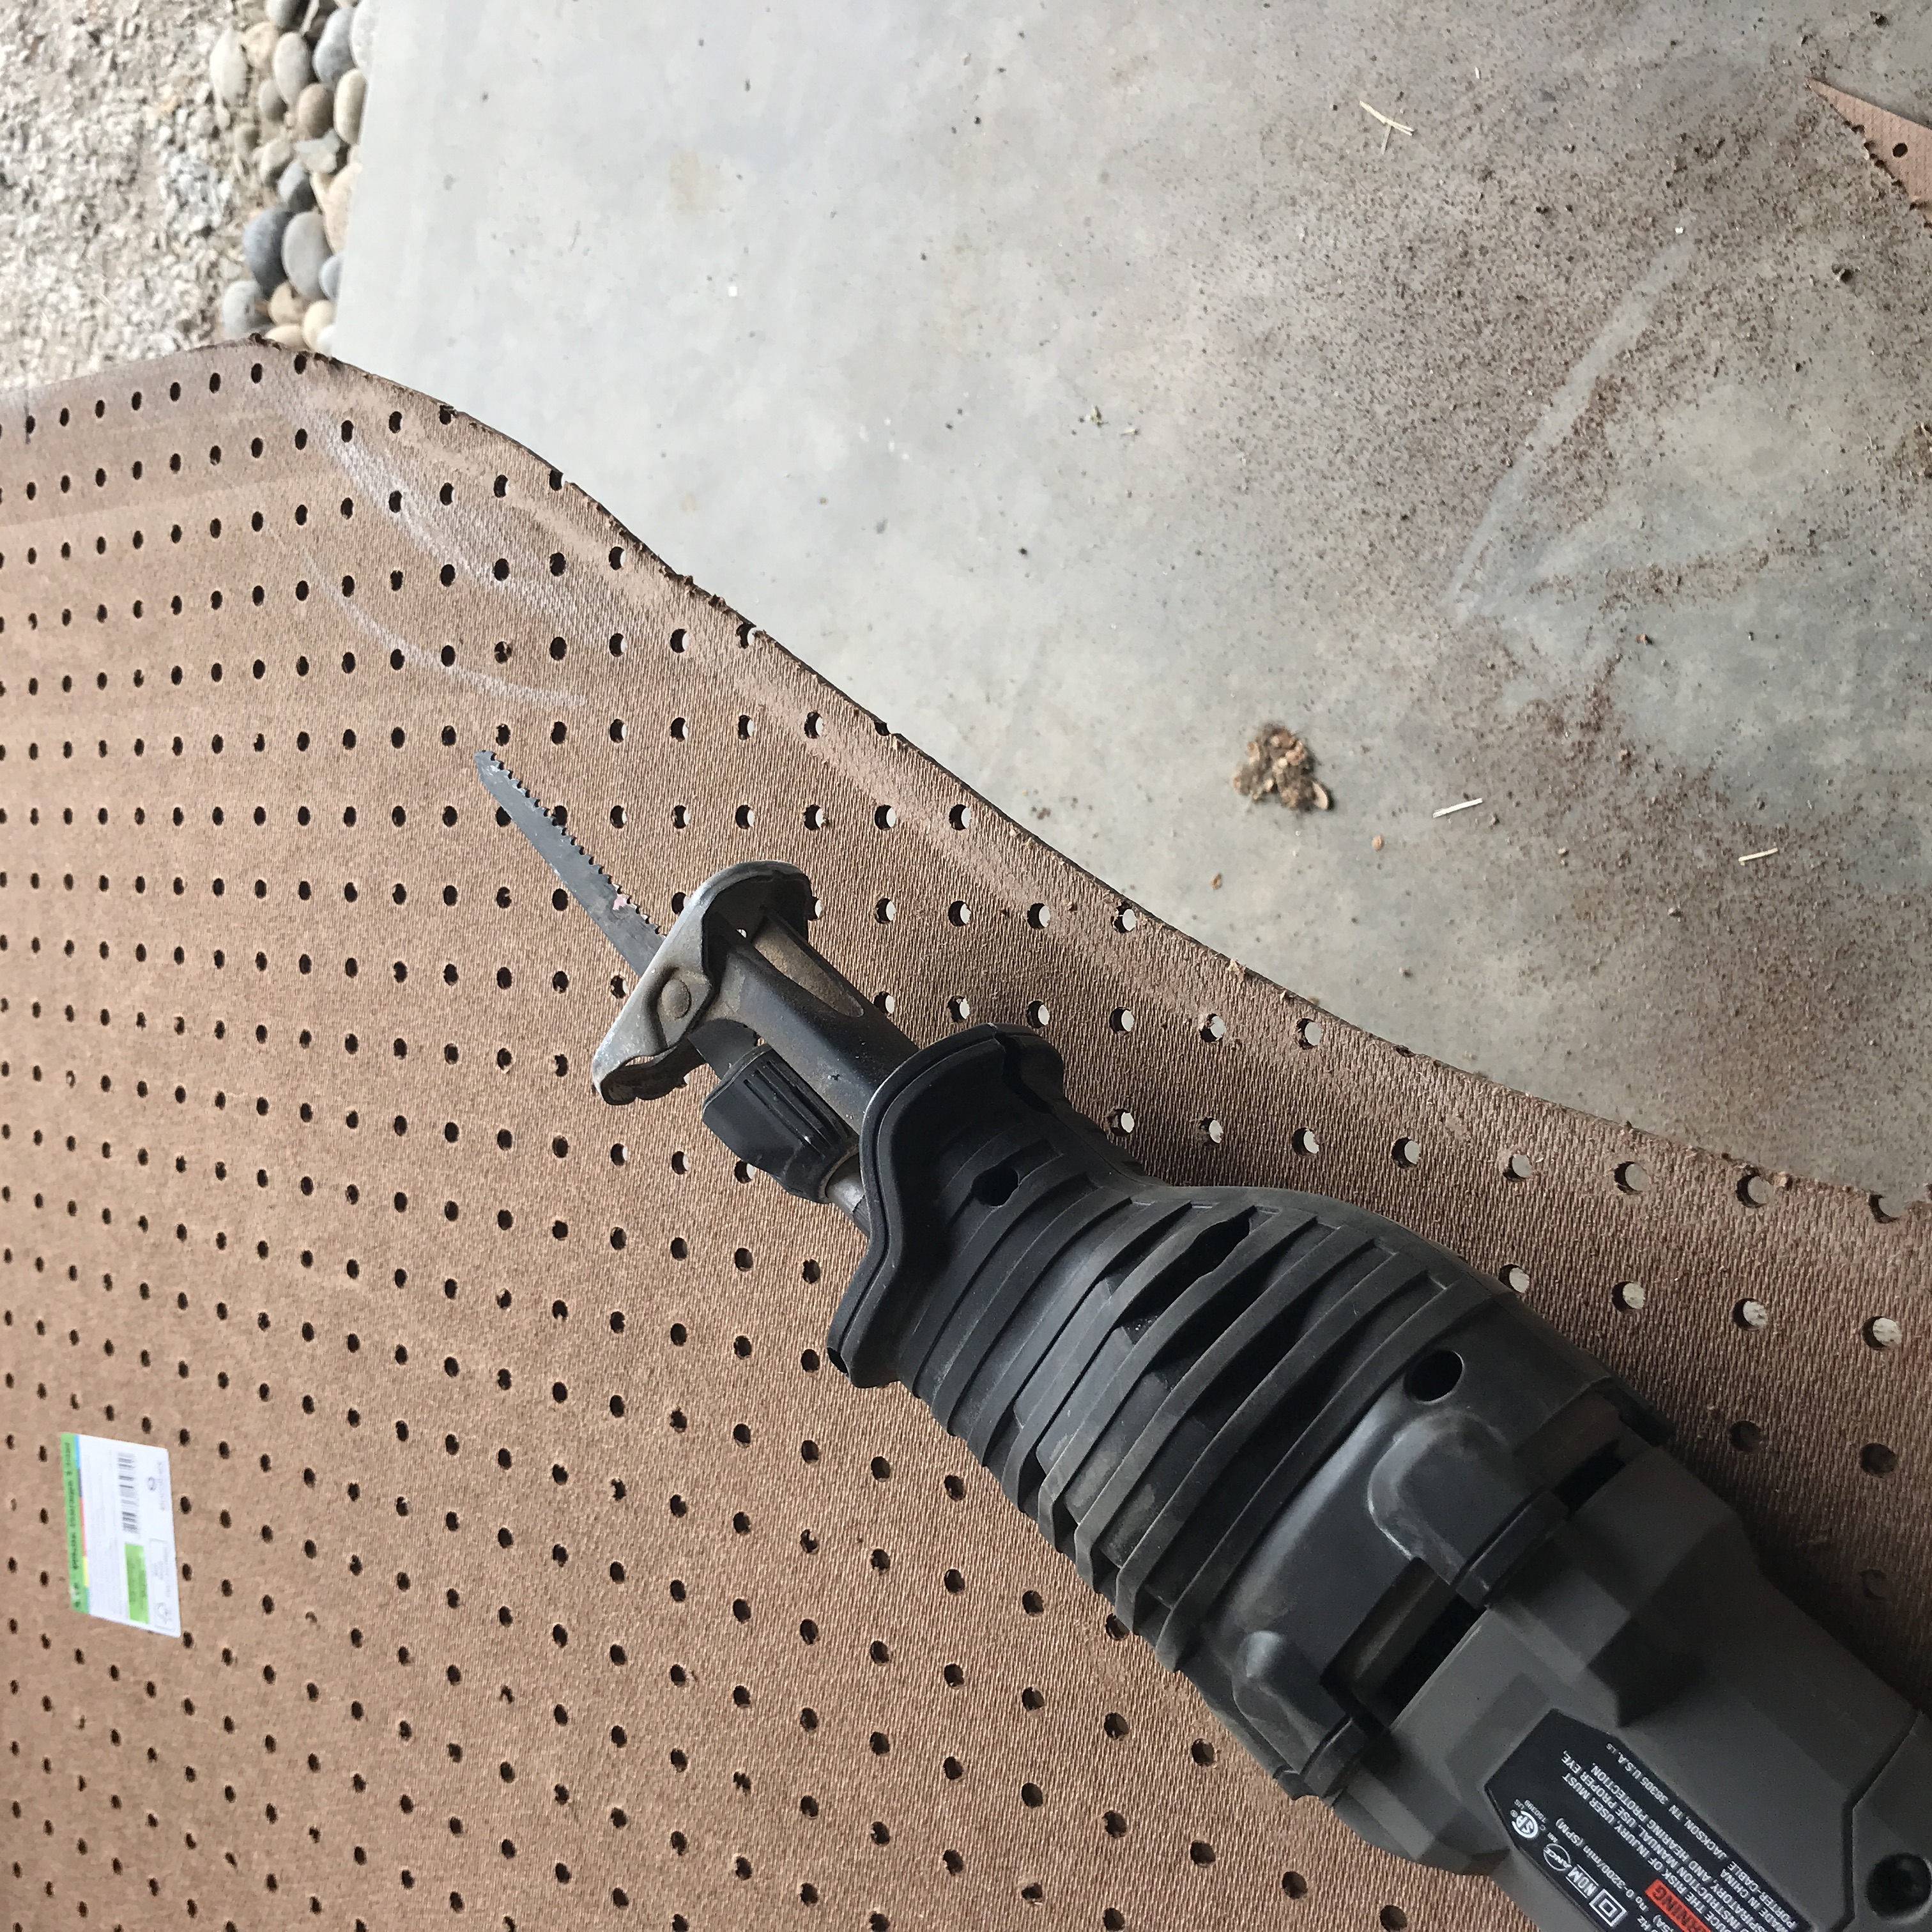
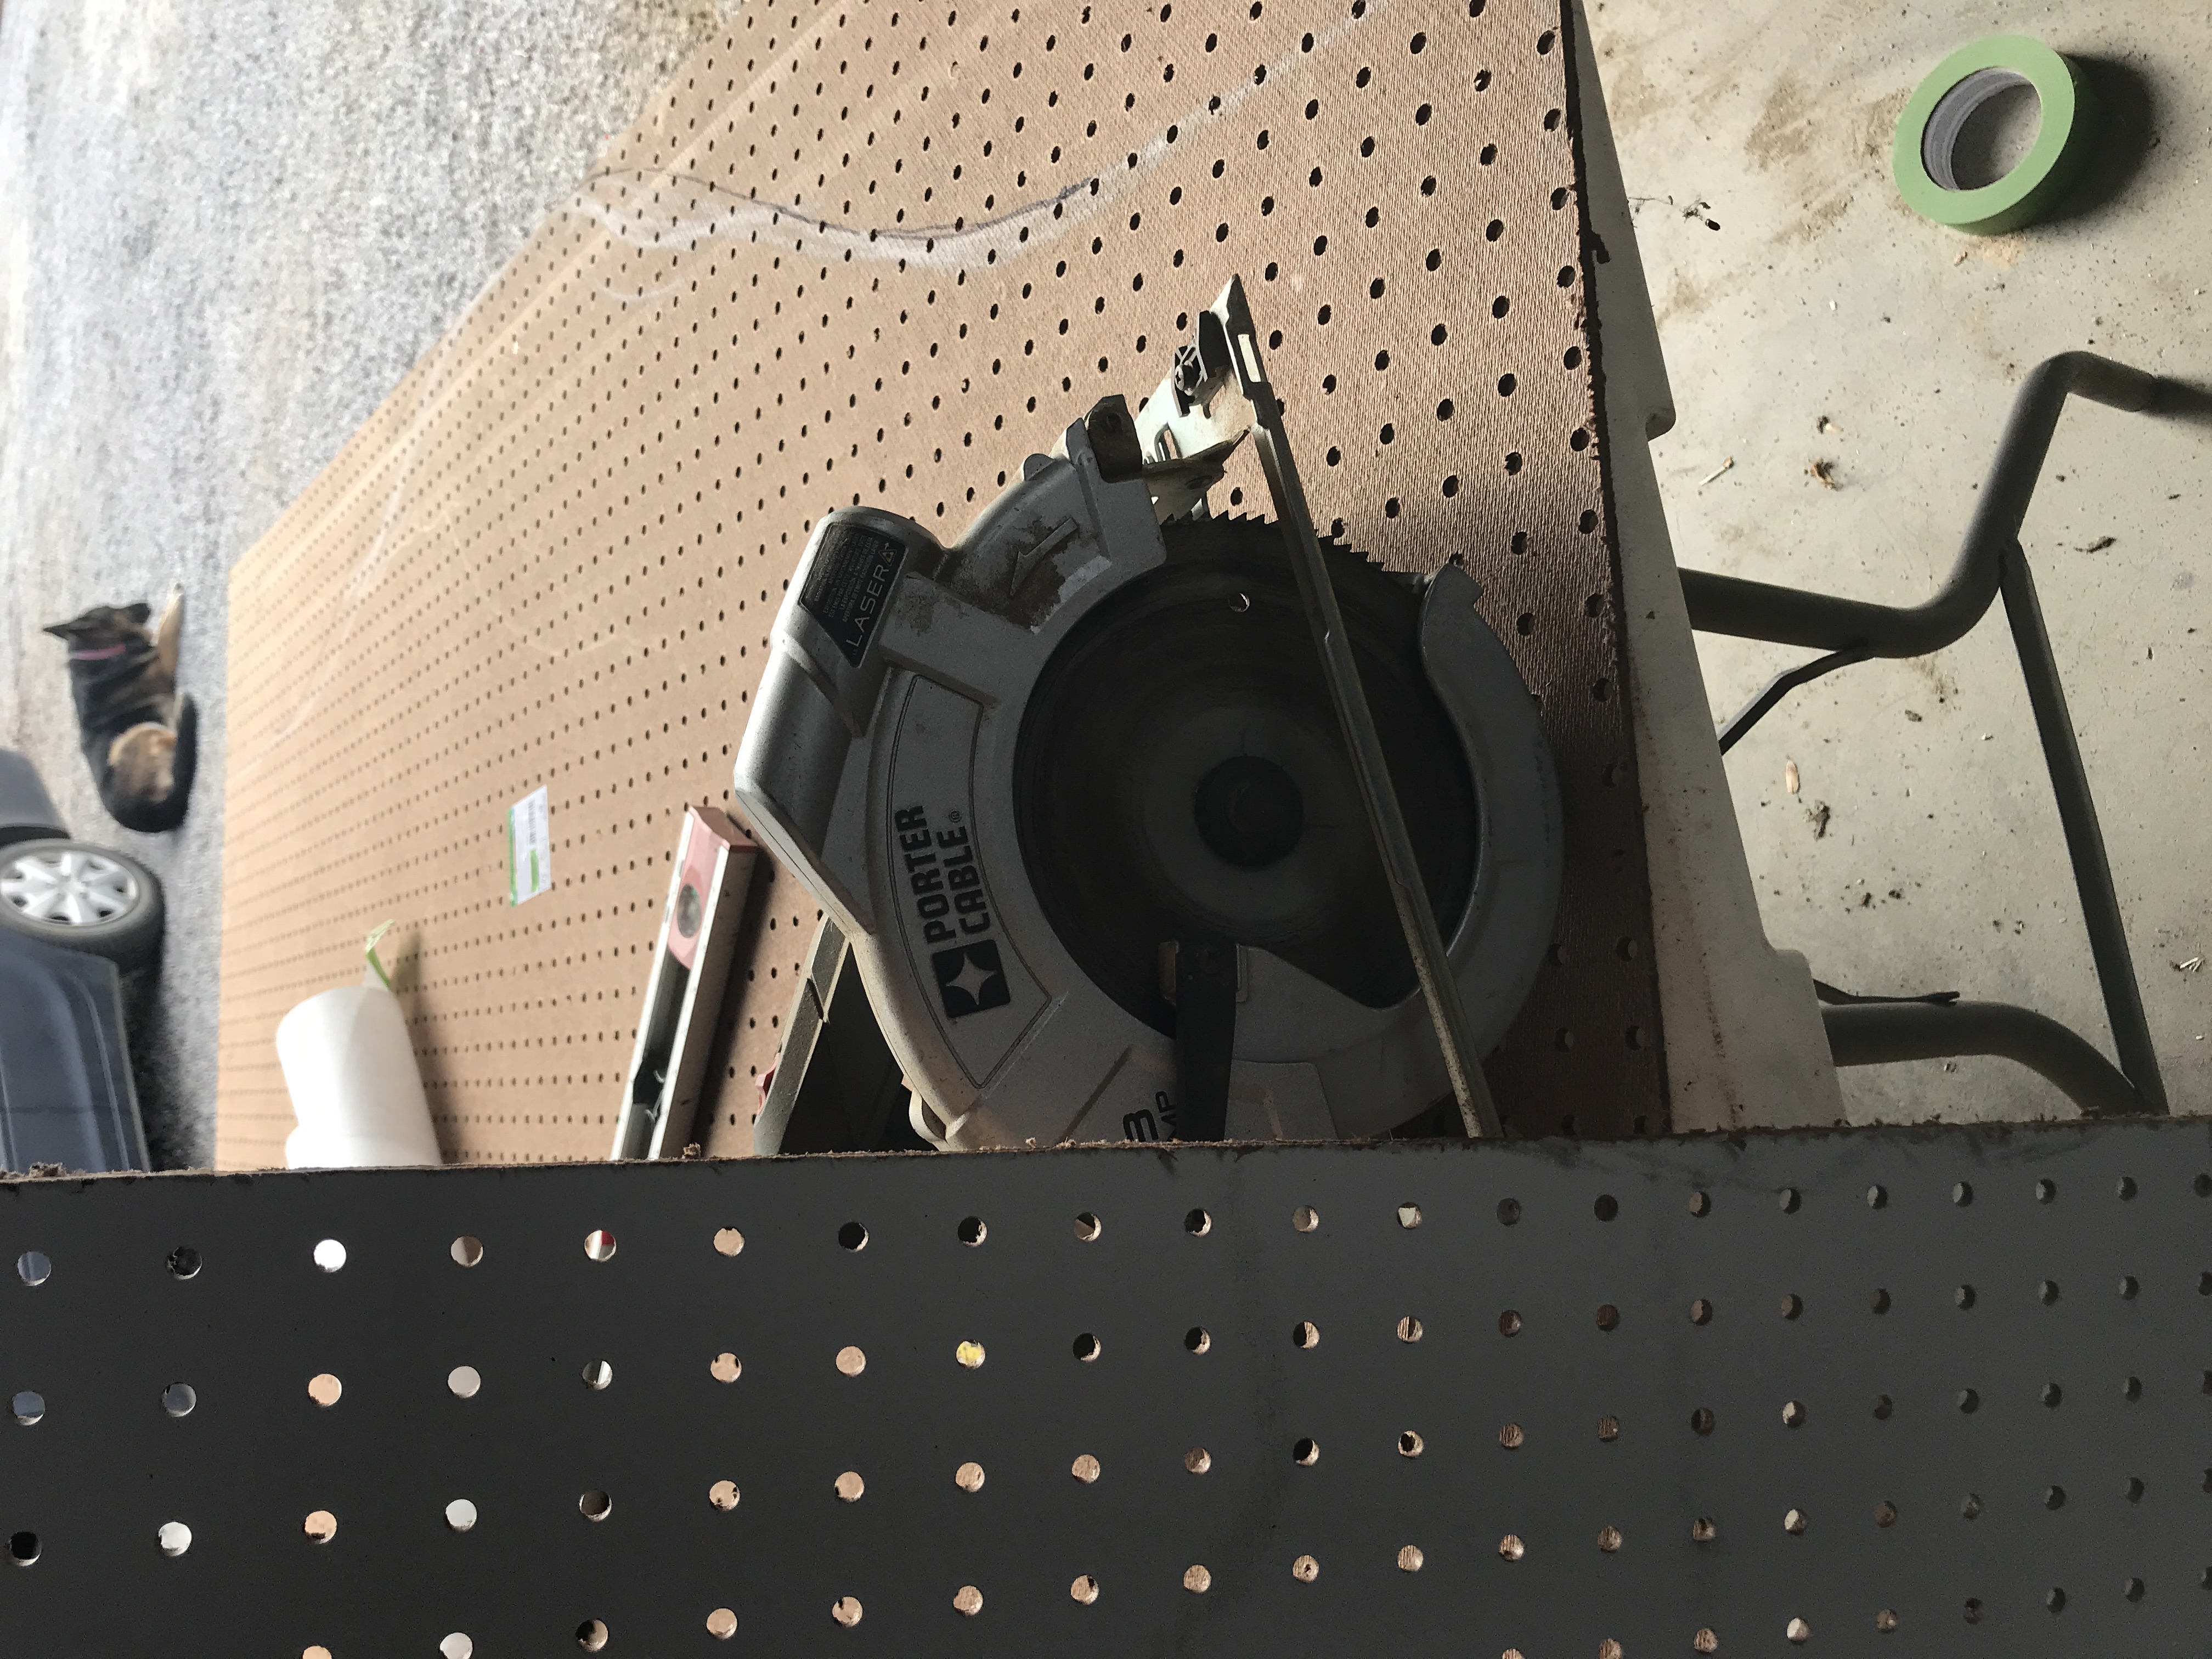
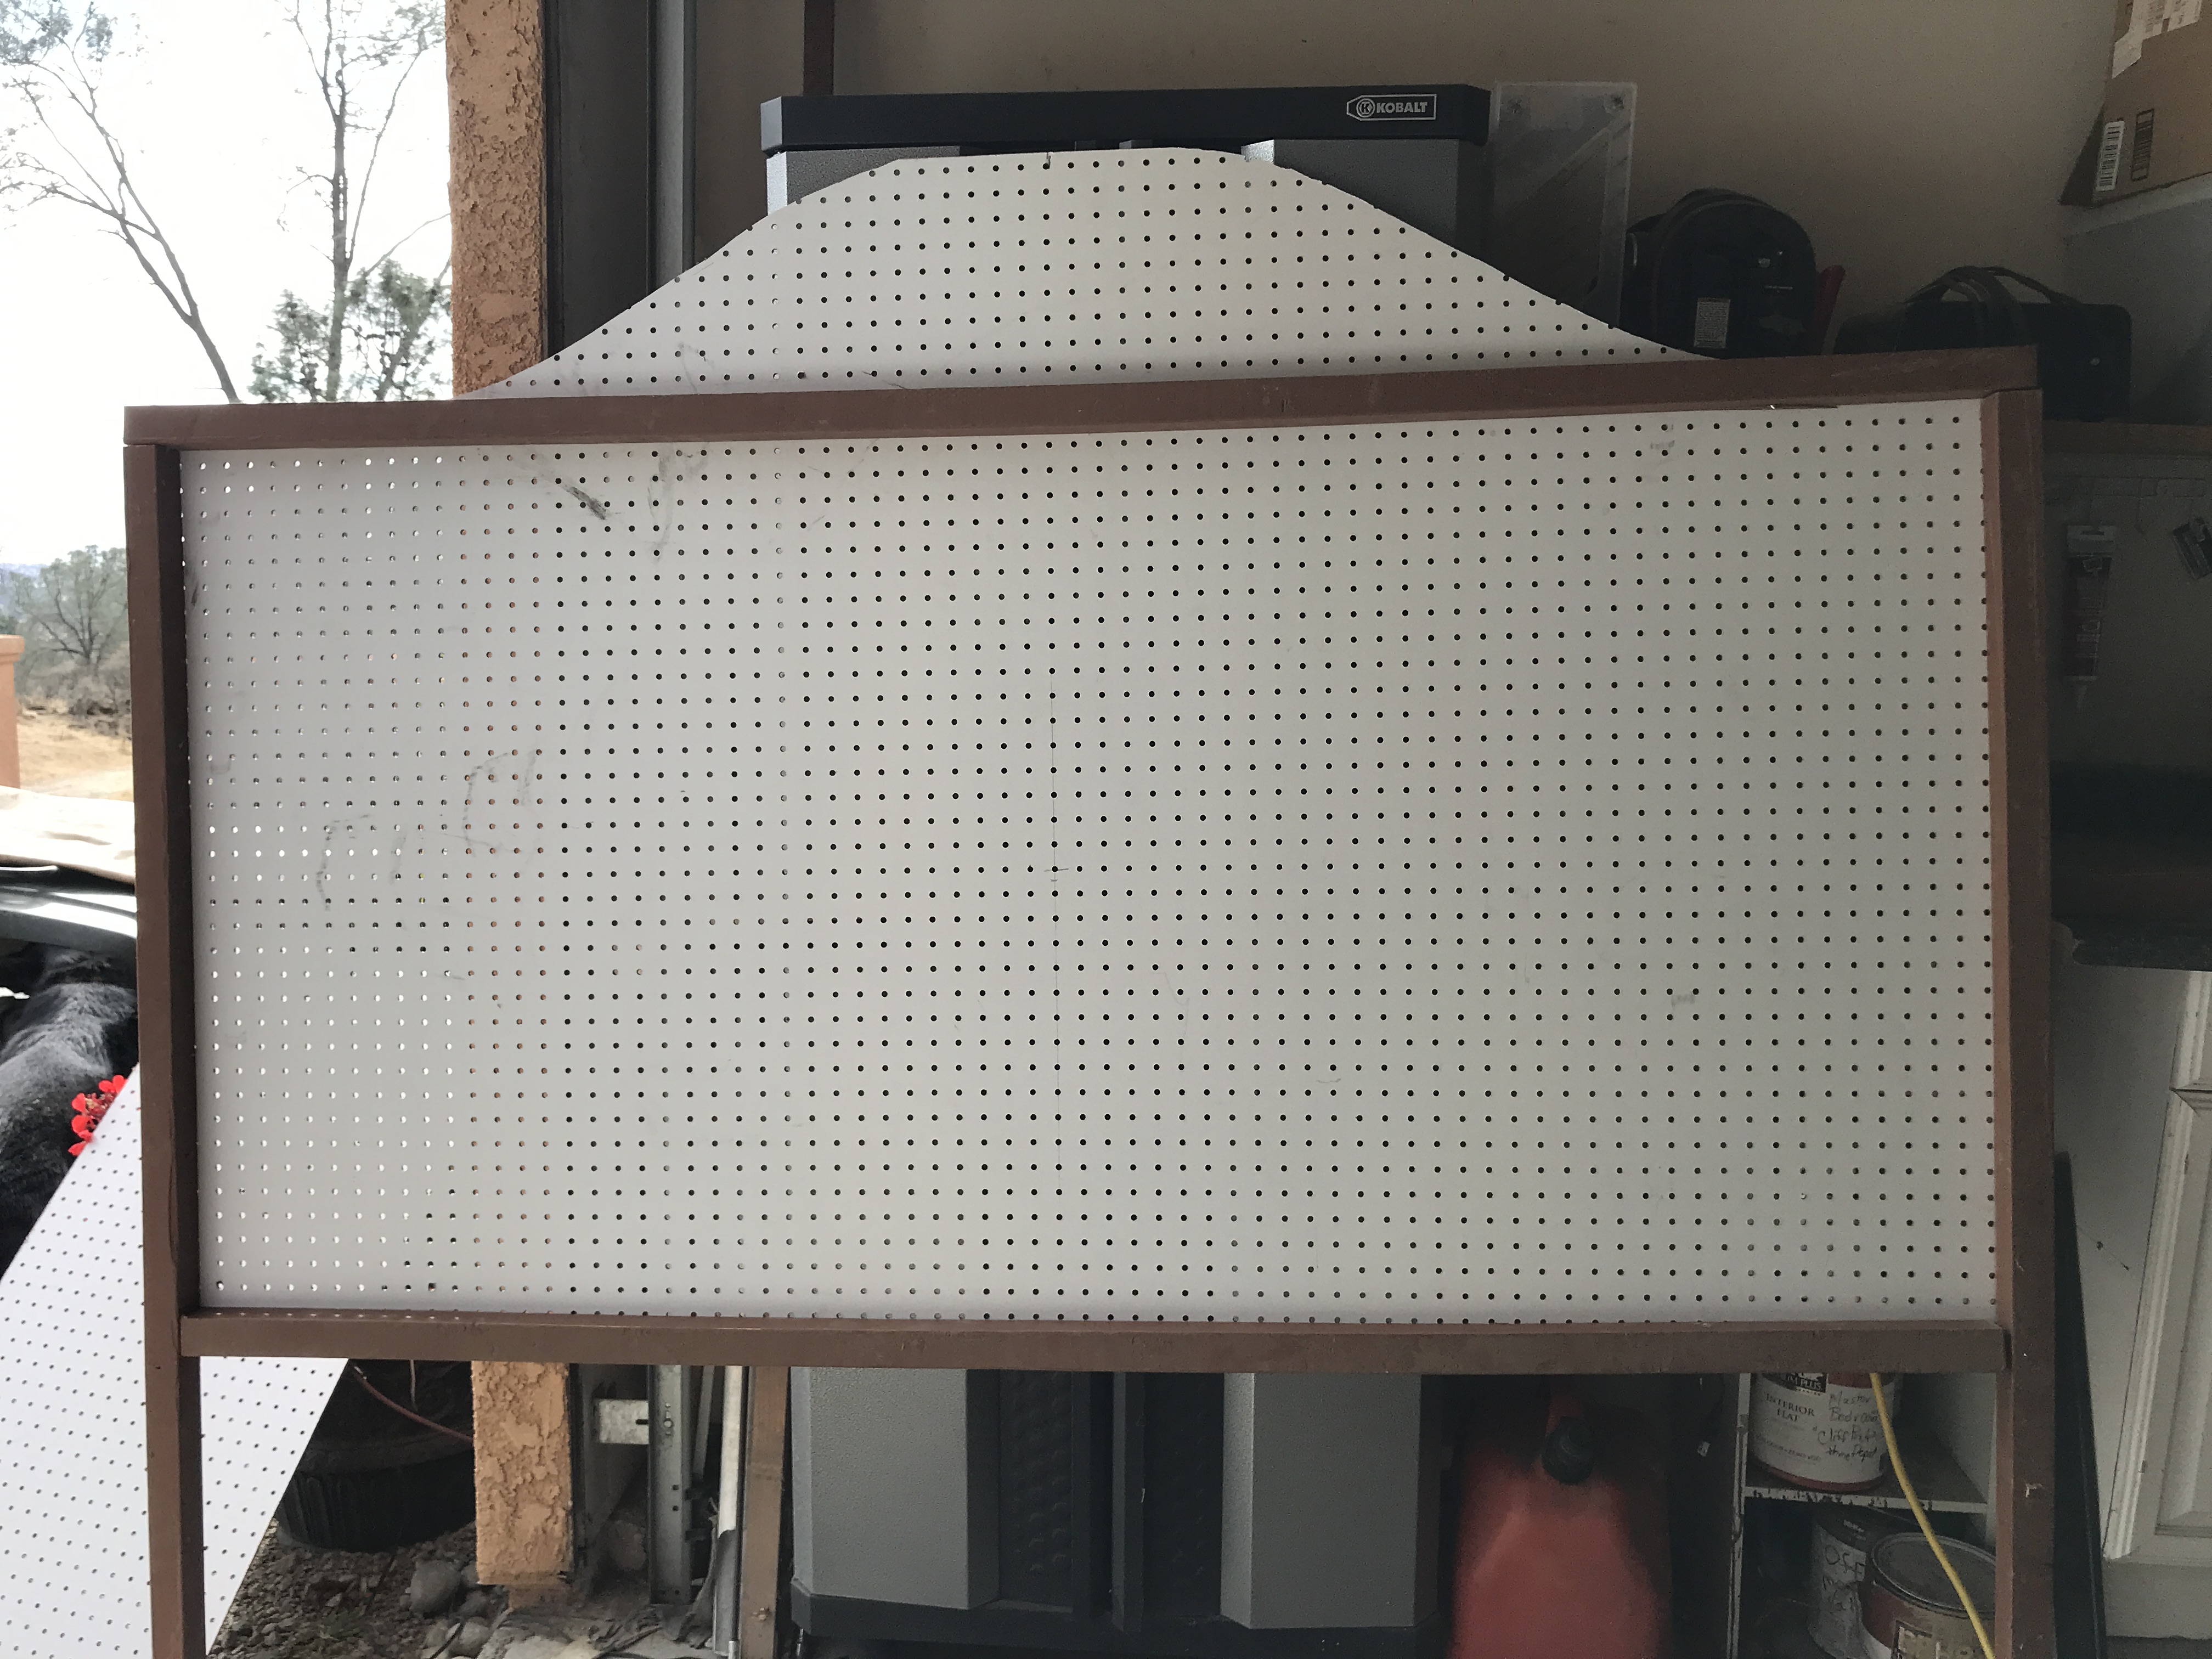
I used a full sheet of pegboard, 8’x4’. I cut it to the shape I wanted, using chalk to draw the cut-line.
I know the tools I used to cut the pegboard were not the perfect ones for the job. But I couldn’t live with a simple rectangle.
I used 2’x2’ boards to construct the frame. We have a junk pile, like most ranches, and I can find wood and other items for construction projects. This wood was left over from a patio pergola we built, and was already painted. I hauled it from the junk pile to the garage with the old ranch car. I love that old mess of a car. I could build a whole house with it.

The legs of the upholstered headboard sit on the floor. The frame is a box with two cross boards, because of the width. Pegboard is too flexible without a frame. I did not mount it to the wall, as planned. I found it wasn’t necessary.
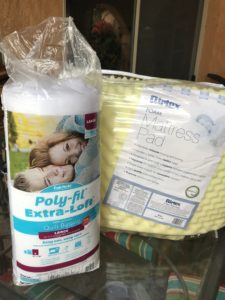
I used 2 egg-crate mattress toppers facing each other for the foam padding, using my 50% coupon. This is much cheaper than upholstery foam (Don’t get the zoned kind). I covered it with 2 layers of quilt batting. I then covered it with the top fabric. I found a tablecloth at Marshall’s that was the perfect color and size for $10.99. It would take 2 1/4 yards of 60” wide fabric otherwise.
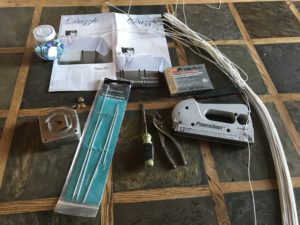
I had a big bag of buttons. I elected not to do the traditional covered buttons. They were copper. I sprayed them a gold/brass color.
I used some inexpensive jar of plastic buttons to pull the wire. Upholstery thread is another option to tuft the fabric. I twisted the wire to hold, thus I didn’t have to do any knotting or stapling.
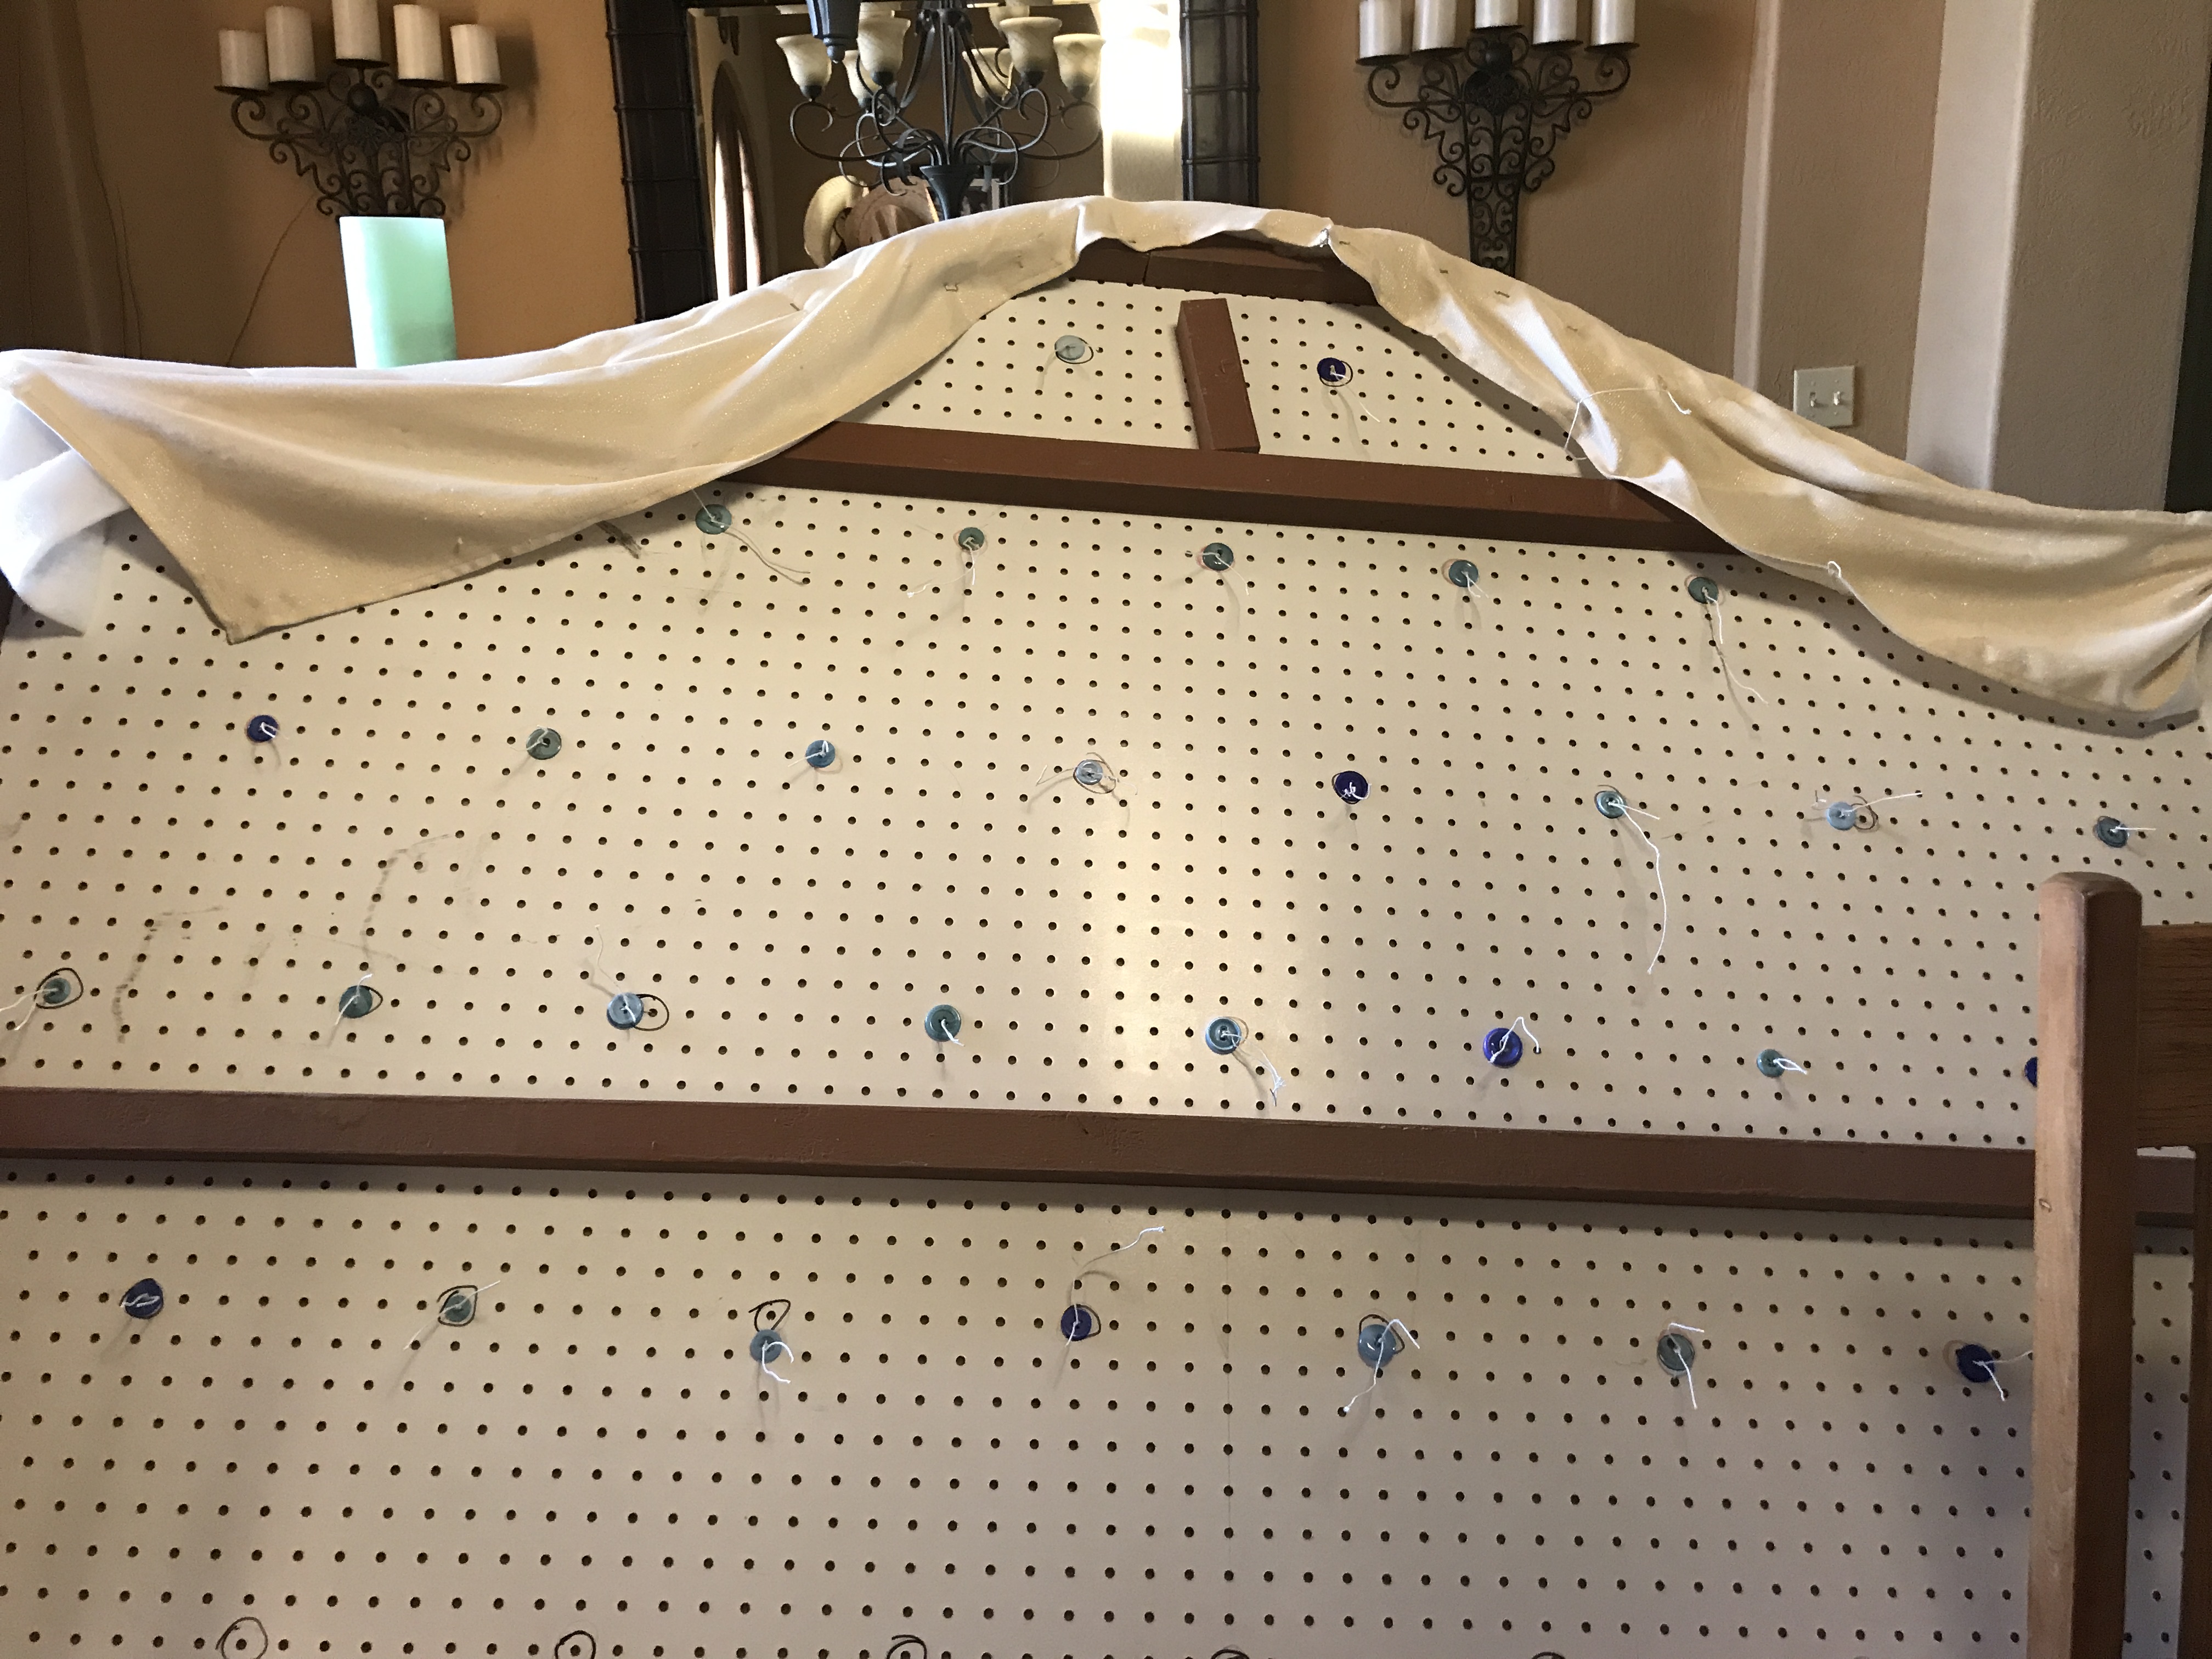
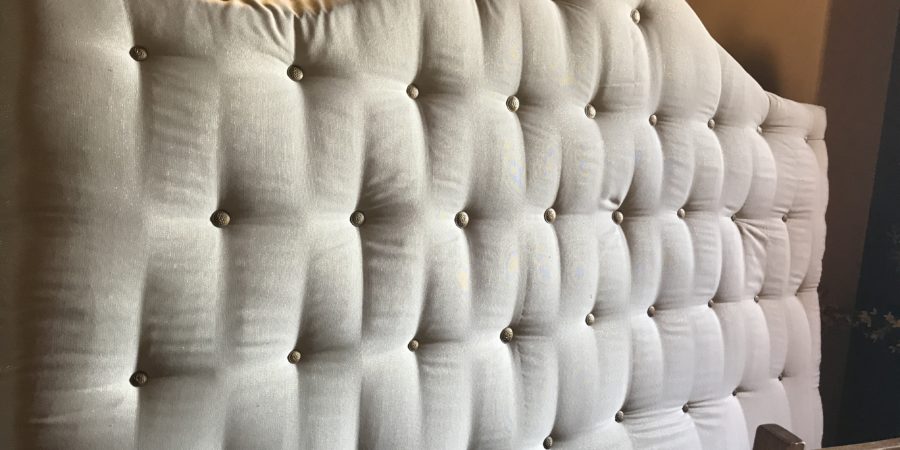
I stapled the fabric taut around the edges and Voila’ It did take 2 of us to drop the headboard in behind the bed.
Now for the rest of the room. This lighter color against my walls has inspired me to change to a lighter color palette. I’ve made the first step by purchasing a very soft and muted comforter set.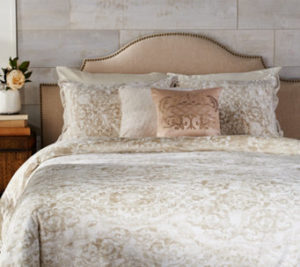
Changing the bedding is the easy part. I am now exploring the options for my window treatments. I may incorporate a beautiful embroidered tablecloth, that is too fragile to use for it’s intended purpose, into the treatments. It’s time to crawl into my bed and dream about the possibilities.